How to Screenshot on Windows – A Complete Guide
-
 Nvery & Tina Collins
 - 17 Aug, 2024

Taking screenshots on a Windows computer is a simple yet powerful feature that can come in handy in many situations. Whether you’re capturing a full screen, a specific window, or just a part of the screen, Windows offers multiple methods to get the job done.
In this guide, we’ll explore various ways to take screenshots on Windows, including built-in tools and third-party applications. By the end, you’ll be able to capture, edit, and save your screenshots with ease.

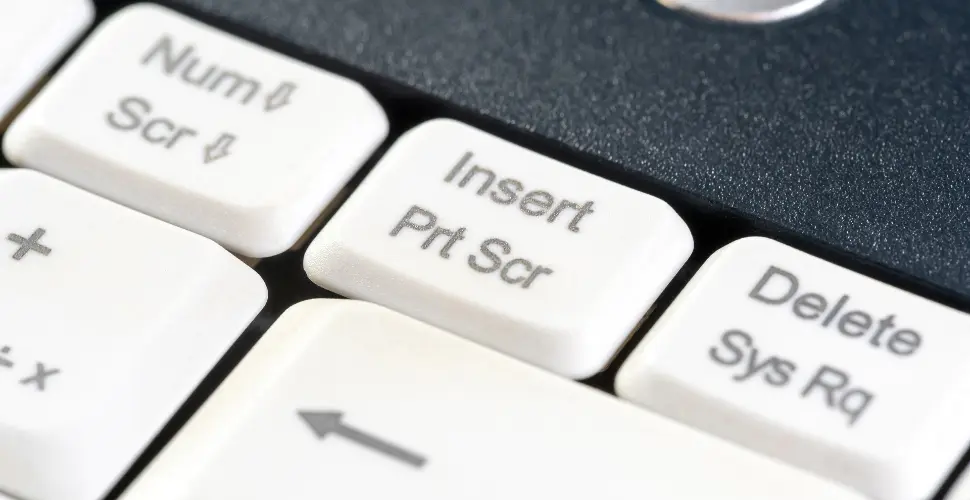
1. Using the Print Screen Key (PrtScn)
The Print Screen key is the most straightforward way to take a screenshot on Windows.
Capture the Entire Screen
- Press the PrtScn key on your keyboard.
- The screenshot is copied to your clipboard.
- Paste it into an image editor like Paint using
Ctrl + V, and save it as an image file.
Capture the Active Window
- Press Alt + PrtScn.
- The screenshot of the active window is copied to your clipboard.
- Paste it into an image editor and save.
Auto-save Screenshot to File
- Press Windows key + PrtScn.
- The screen will dim briefly, and the screenshot will be saved automatically in the Pictures > Screenshots folder.
2. Using Snipping Tool
The Snipping Tool is a built-in Windows application that allows you to capture specific areas of your screen.
How to Use Snipping Tool
- Open the Snipping Tool by searching for it in the Start menu.
- Click on New to start a new snip.
- Select the area of the screen you want to capture.
- Save the screenshot or copy it to the clipboard.
Snipping Modes
- Free-form Snip: Draw a free-form shape around the area.
- Rectangular Snip: Drag the cursor to create a rectangular selection.
- Window Snip: Capture a specific window.
- Full-screen Snip: Capture the entire screen.
3. Using Snip & Sketch
Snip & Sketch is an enhanced version of the Snipping Tool, providing more features for capturing and editing screenshots.
How to Use Snip & Sketch
- Open Snip & Sketch from the Start menu.
- Click on New to start a snip.
- Select the area to capture using one of the snip modes.
- Edit the screenshot if needed, using the tools provided.
- Save or share the screenshot.
Quick Snip
- Press Windows key + Shift + S.
- The screen will dim, and you can select the area to capture.
- The screenshot is copied to your clipboard and can be pasted into any application.
4. Using Game Bar (Windows + G)
The Game Bar is primarily for gamers but can be used by anyone to capture screenshots.
How to Capture Screenshots with Game Bar
- Press Windows key + G to open the Game Bar.
- Click on the Camera icon or press Windows key + Alt + PrtScn to capture a screenshot.
- Screenshots are automatically saved in the Videos > Captures folder.
5. Using Third-Party Applications
If you need more advanced features, third-party applications can be a great option.
Popular Third-Party Screenshot Tools
- Lightshot: Simple and fast, with online sharing options.
- Greenshot: Offers more customization options.
- ShareX: Advanced tool with many capture and editing options.
Summary
 Taking a screenshot on Windows is a task that can be done in various ways, depending on your needs:
- Use the Print Screen key for quick captures.
- The Snipping Tool and Snip & Sketch offer more control over what you capture.
- Game Bar is great for gamers who want to capture in-game moments.
- Third-party tools like Lightshot and ShareX provide advanced options for editing and sharing.
With these methods, you can easily capture, save, and share your screen content on Windows.