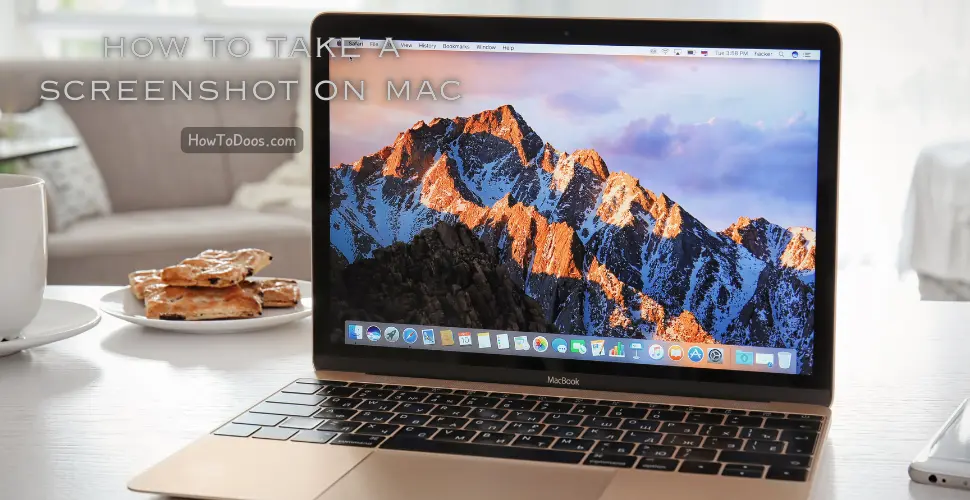
How to Take a Screenshot on Mac – A Step-by-Step Guide
-
 Emily Carter
 - 29 Aug, 2024
Taking a screenshot on a Mac is a simple yet powerful tool that can be useful for a variety of tasks, from capturing images for tutorials to saving information on the fly. Mac offers several methods to take screenshots, each with its own benefits. In this guide, we’ll walk you through the different ways to capture your screen on a Mac.

Why Take Screenshots on a Mac?
- Save Important Information: Capture details quickly without needing to copy and paste.
- Create Visual Tutorials: Easily show others how to perform tasks.
- Document Issues: Provide clear examples of errors or bugs for technical support.
Method 1: Capturing the Entire Screen
Step 1: Use the Keyboard Shortcut
- Press
Command + Shift + 3simultaneously. - The screenshot of your entire screen will be saved automatically to your desktop.
Step 2: Access Your Screenshot
- Find the saved screenshot on your desktop. It will be named with the date and time of capture.
Benefits
- Quick and easy: Perfect for capturing everything visible on your screen at once.

Method 2: Capturing a Selected Portion of the Screen
Step 1: Use the Keyboard Shortcut
- Press
Command + Shift + 4simultaneously. - Your cursor will turn into a crosshair.
Step 2: Select the Area
- Click and drag the crosshair to select the area you want to capture.
- Release the mouse button to take the screenshot.
Step 3: Access Your Screenshot
- The screenshot will be saved to your desktop, named with the date and time.
Benefits
- Precision: Capture only the part of the screen you need.
Method 3: Capturing a Specific Window
Step 1: Use the Keyboard Shortcut
- Press
Command + Shift + 4, then press theSpacebar. - Your cursor will turn into a camera icon.
Step 2: Select the Window
- Click on the window you want to capture.
- The screenshot will be taken and saved to your desktop.
Benefits
- Focused Capture: Perfect for grabbing individual windows without background clutter.
Method 4: Using the Screenshot App
Step 1: Open the Screenshot App
- Press
Command + Shift + 5to open the Screenshot app. - The Screenshot toolbar will appear at the bottom of your screen.
Step 2: Choose Your Capture Option
- Capture Entire Screen: Click on the first icon.
- Capture Selected Window: Click on the second icon.
- Capture Selected Portion: Click on the third icon, then select the area.
Step 3: Capture the Screenshot
- Click the “Capture” button to take the screenshot.
- The image will be saved to your desktop.
Benefits
- Versatility: Offers various capture options and includes recording features.
Method 5: Capturing a Screenshot with a Timer
Step 1: Open the Screenshot App
- Press
Command + Shift + 5to open the Screenshot app.
Step 2: Set the Timer
- Click on “Options” in the Screenshot toolbar.
- Select a timer option (5 or 10 seconds).
Step 3: Take the Screenshot
- Choose your capture mode (Entire Screen, Window, or Portion).
- Click “Capture” and wait for the timer to finish.
Benefits
- Time to Prepare: Allows you to set up your screen before capturing.

Summary
Taking screenshots on a Mac is incredibly straightforward, whether you want to capture the entire screen, a specific window, or just a portion of the screen. The built-in shortcuts and the Screenshot app offer a variety of options to suit your needs. By mastering these methods, you’ll be able to efficiently capture and share information, create tutorials, or document issues on your Mac.
Now that you know how to take screenshots on a Mac, you can easily capture anything on your screen with just a few keystrokes!