How to Make Blackberry Jam: A Step-by-Step Guide
-
 Olivia Taylor
 - 06 Aug, 2024
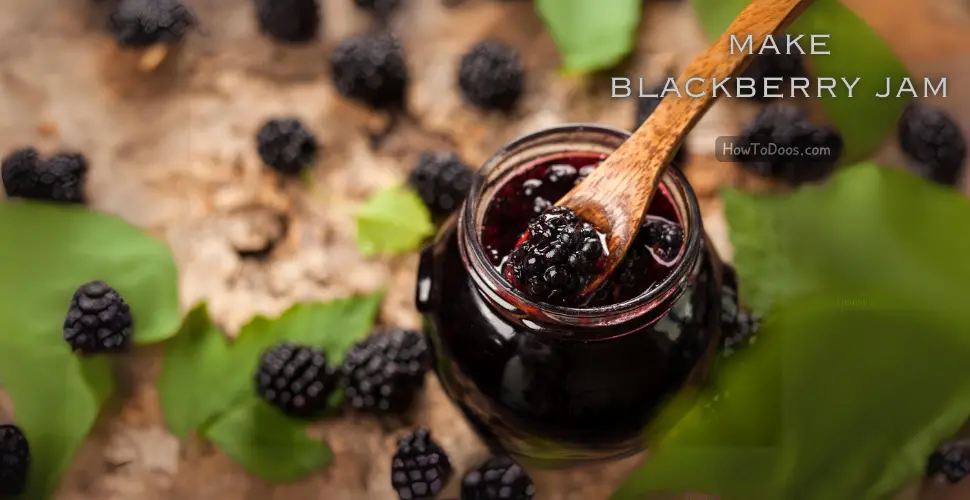
Making your own blackberry jam is a rewarding and delicious way to preserve the summer’s bounty. With just a few simple ingredients and some basic equipment, you can create a homemade jam that’s perfect for spreading on toast, adding to desserts, or giving as a thoughtful gift. Here’s a step-by-step guide to making your own blackberry jam.

Ingredients
- 4 cups fresh blackberries
- 4 cups granulated sugar
- 1/4 cup lemon juice
Equipment
- Large pot
- Potato masher or fork
- Wooden spoon
- Candy thermometer (optional)
- Sterilized jars with lids
Instructions
1. Prepare the Blackberries
Start by washing the blackberries thoroughly under cold running water. Remove any stems, leaves, or debris. Place the cleaned blackberries in a large pot.
2. Mash the Blackberries
Use a potato masher or a fork to mash the blackberries. This will help release their juices and break them down. You can mash them to your desired consistency, depending on whether you prefer a chunky or smooth jam.
3. Add Sugar and Lemon Juice
Add the granulated sugar and lemon juice to the pot with the mashed blackberries. Stir well to combine all the ingredients.
4. Cook the Mixture
Place the pot over medium-high heat and bring the mixture to a boil. Once boiling, reduce the heat to medium and continue to cook, stirring frequently to prevent sticking and burning.
5. Check for Setting Point
Cook the mixture until it reaches the setting point, which is around 220°F (104°C). If you don’t have a candy thermometer, you can check the setting point using the wrinkle test. Place a small plate in the freezer before you start cooking the jam. When you think the jam is ready, drop a small amount onto the cold plate and let it sit for a minute. Push it with your finger; if it wrinkles and doesn’t run back together, it’s ready.
6. Sterilize the Jars
While the jam is cooking, sterilize your jars and lids by boiling them in water for 10 minutes. Keep them in the hot water until you are ready to fill them.
7. Fill the Jars
Once the jam has reached the setting point, remove the pot from the heat. Carefully ladle the hot jam into the sterilized jars, leaving about 1/4 inch of headspace at the top. Wipe the rims of the jars with a clean, damp cloth to remove any spills. Place the lids on the jars and screw on the bands until they are fingertip tight.
8. Process the Jars
To ensure a proper seal and longer shelf life, process the filled jars in a boiling water bath. Place the jars in a large pot of boiling water, making sure they are completely covered with water. Boil for 10 minutes, then carefully remove the jars and let them cool on a towel or rack.
9. Check the Seals
After the jars have cooled completely, check the seals by pressing down on the center of each lid. If the lid doesn’t pop back, the jar is sealed properly. Store any unsealed jars in the refrigerator and use them within a few weeks.
Enjoy Your Homemade Blackberry Jam
Once the jars are sealed and cooled, label them with the date and store them in a cool, dark place. Your homemade blackberry jam will keep for up to a year. Enjoy it on toast, scones, or as a topping for desserts.
Summary
Making blackberry jam at home is a simple and rewarding process. With just fresh blackberries, sugar, and lemon juice, you can create a delicious preserve that captures the essence of summer. Follow these steps for a perfect homemade jam that’s sure to impress.
Frequently Asked Questions
Q: Can I use frozen blackberries to make jam?
A: Yes, you can use frozen blackberries. Thaw them completely and use them just like fresh blackberries.
Q: How can I make my jam less sweet?
A: You can reduce the amount of sugar, but keep in mind that sugar acts as a preservative. Reducing sugar may result in a softer set and shorter shelf life.
Q: Can I add other fruits to my blackberry jam?
A: Absolutely! Blackberries pair well with raspberries, blueberries, and even apples for a delicious mixed fruit jam.
For more delicious recipes and preserving tips, visit Howtodoos.com.
