How to Write a Cheque – A Step-by-Step Guide
-
 Nvery & Tina Collins
 - 30 Sep, 2024

Introduction
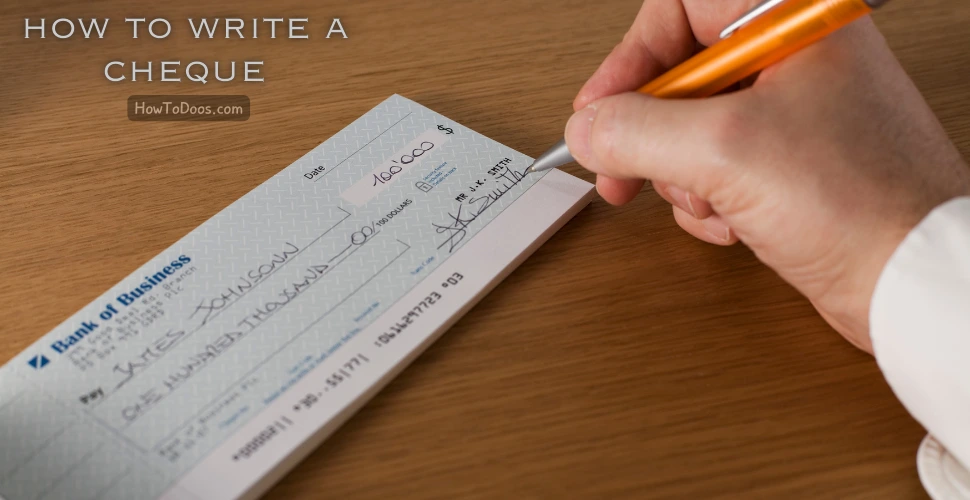
 Writing a cheque may seem old-fashioned, but it’s still a common way to make payments for bills, rent, and more. If you’ve never written a cheque before or want to make sure you’re doing it correctly, follow this step-by-step guide.
Step-by-Step Guide to Writing a Cheque
Step 1: Date the Cheque
In the top right-hand corner of the cheque, you’ll see a space for the date. Write the current date or the date you want the cheque to be valid from. Use the format MM/DD/YYYY (e.g., 09/18/2024), or you can write the date out (e.g., September 18, 2024).
Step 2: Write the Payee’s Name
On the line that starts with “Pay to the order of,” write the full name of the person or company you are paying. Make sure to write clearly and accurately to avoid any issues with the cheque being cashed or deposited.
- Examples:
- If you’re paying an individual, write their full name: John Smith.
- If you’re paying a company, write the full business name: Electricity Company Ltd.
Step 3: Write the Amount in Numbers
Next to the dollar sign ($), write the amount you’re paying in numbers. Be sure to include both dollars and cents. For example:
- If you’re writing a cheque for $120.45, write it as 120.45.
- If it’s a whole number (e.g., $100), write it as 100.00 to clearly show there are no cents.
Step 4: Write the Amount in Words
Below the payee’s name, you will see a line where you need to write the amount in words. This is where you spell out the amount you’re paying to avoid fraud or errors.
- For example, if the cheque is for $120.45, write “One hundred twenty dollars and 45/100”.
- For an even dollar amount, write “One hundred dollars and 00/100”.
- Draw a line through any remaining space after the written amount to prevent alterations.
Step 5: Add a Memo (Optional)
The memo line in the lower left corner of the cheque is optional, but it can help clarify the purpose of the payment. For example, you can write:
- “Rent for September”
- “Invoice #12345”
This section is helpful for your own records or for the recipient to identify the payment purpose.

Step 6: Sign the Cheque
In the bottom right corner, you’ll see a line for your signature. Sign the cheque exactly as your name appears on your bank account. Without a valid signature, the cheque cannot be processed.
Important Tips to Remember
- Ensure Accuracy: Double-check all details to avoid mistakes that could lead to delays in processing.
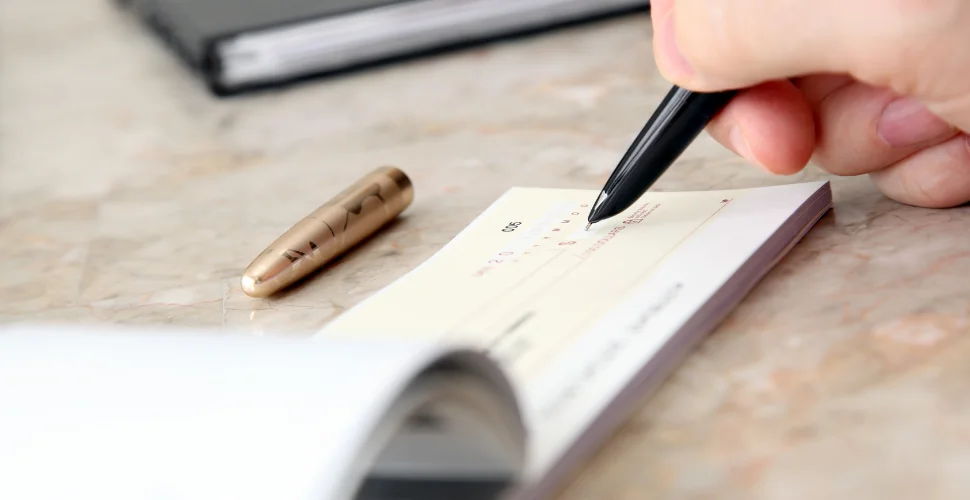
- Use Ink: Always write a cheque in blue or black ink. Pencil can be easily erased, leading to fraud.
- Avoid Blank Spaces: Fill in all sections of the cheque completely, and draw lines through any unused spaces to avoid tampering.
- Keep Records: Always keep a record of the cheques you write. Most cheque books come with a stub or carbon copy for this purpose. You can also write down the cheque number, payee, and amount for future reference.

Conclusion
Writing a cheque is simple once you know the process. By following this guide, you can ensure your cheques are filled out correctly and securely, minimizing any chance of errors or fraud. Always review your bank’s policies and guidelines to ensure you’re meeting their requirements when writing a cheque.


