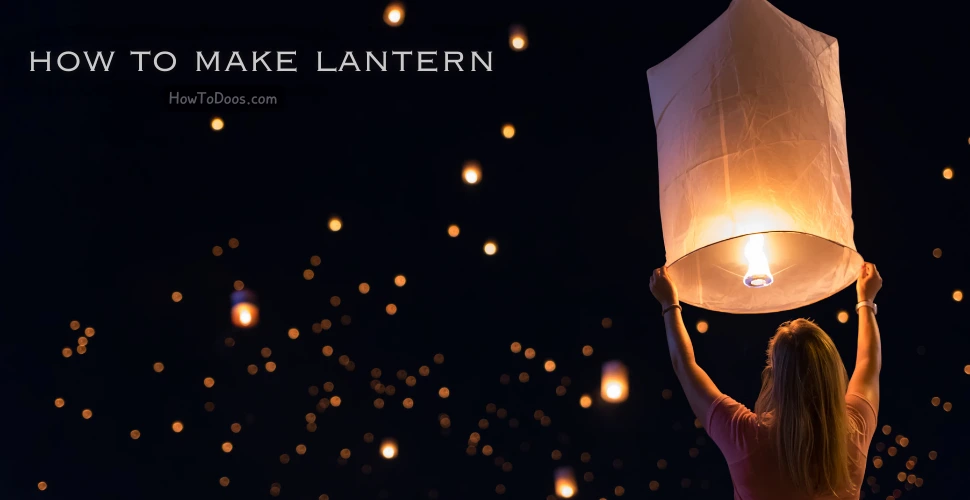
How to Make a Lantern – A Step-by-Step Guide
-
 Olivia Taylor
 - 12 Sep, 2024
Creating a lantern is a delightful DIY project that adds both functionality and charm to your home or garden. Whether you want a simple lantern for outdoor use or a decorative piece for indoors, making your own lantern can be a fun and rewarding experience. In this guide, we’ll walk you through the steps to make a basic lantern using common materials.

Materials Needed
For a Paper Lantern
- Paper: Colored or patterned paper works well.
- Scissors: For cutting the paper.
- Glue: To assemble the lantern.
- String: For hanging the lantern.
- Wire: Optional, for added structure.
- Candle or LED light: For illumination.
For a Tin Can Lantern
- Empty tin can: Clean and remove the label.
- Hammer and nail: To punch holes in the can.
- Pliers: To bend the can’s edges.
- Paint: To decorate the lantern.
- String or wire: For handles.
- Candle or LED light: For illumination.
Making a Paper Lantern
1. Prepare Your Materials
Start by gathering all the materials you need. Choose a paper with an appealing color or pattern.
2. Cut the Paper
Cut a rectangular piece of paper to your desired size. For a basic lantern, a piece about 8x10 inches works well.
3. Fold the Paper
Fold the paper in half lengthwise. Make sure the edges are aligned properly.
4. Cut Slits
With the paper folded, use scissors to cut slits along the folded edge, leaving about half an inch at the top and bottom. The slits should be about 1 inch apart.
5. Unfold the Paper
Carefully unfold the paper. You should see a series of slits running vertically down the paper.
6. Form the Lantern Shape
Roll the paper into a cylinder, overlapping the edges slightly. Secure the edges with glue.
7. Add a Handle
Cut a strip of paper or use wire to create a handle for your lantern. Glue or tape it to the top of the lantern.
8. Insert a Light Source
Place a small candle or LED light inside the lantern. If using a candle, make sure the lantern is placed on a fire-resistant surface.
9. Hang or Display
Your paper lantern is ready to hang or display. Use string to hang it from a hook or place it on a table.
Making a Tin Can Lantern
1. Prepare the Tin Can
Start with a clean tin can. Remove any labels and thoroughly wash it.
2. Punch Holes
Fill the can with water and freeze it overnight. The ice will help keep the can stable while you punch holes. Use a hammer and nail to punch holes in your desired pattern.
3. Remove the Ice
Once the water has frozen, remove the can from the freezer and let it thaw slightly. Carefully remove the ice from inside the can.
4. Paint the Can
Decorate the can with paint. You can use any color or pattern you like. Allow the paint to dry completely.
5. Add a Handle
Use pliers to create a small hole near the top of the can on opposite sides. Thread a piece of string or wire through these holes to create a handle.
6. Insert a Light Source
Place a candle or LED light inside the can. If using a candle, make sure it’s placed on a fire-resistant surface.
7. Display Your Lantern
Your tin can lantern is now ready to use. Hang it by the handle or place it on a table to add a warm glow to your space.
Tips for Lantern Making
- Safety First: Always be cautious when working with tools, especially when punching holes in cans.
- Customization: Personalize your lanterns with paint, patterns, or embellishments to match your decor.
- Weatherproofing: If you plan to use your lantern outdoors, consider using weather-resistant materials and finishes.
Conclusion
Making a lantern is a simple and enjoyable project that can enhance your home or garden’s ambiance. Whether you choose a paper or tin can lantern, following these steps will help you create a beautiful light source that adds charm and warmth to any space. Enjoy your crafting!
Summary
Creating a lantern involves choosing the right materials and following a few simple steps. For paper lanterns, cut, fold, and decorate the paper, then assemble it and add a light source. For tin can lanterns, punch holes in a frozen can, paint it, and add a handle and light. Customize your lanterns to fit your style and enjoy their beauty and functionality.